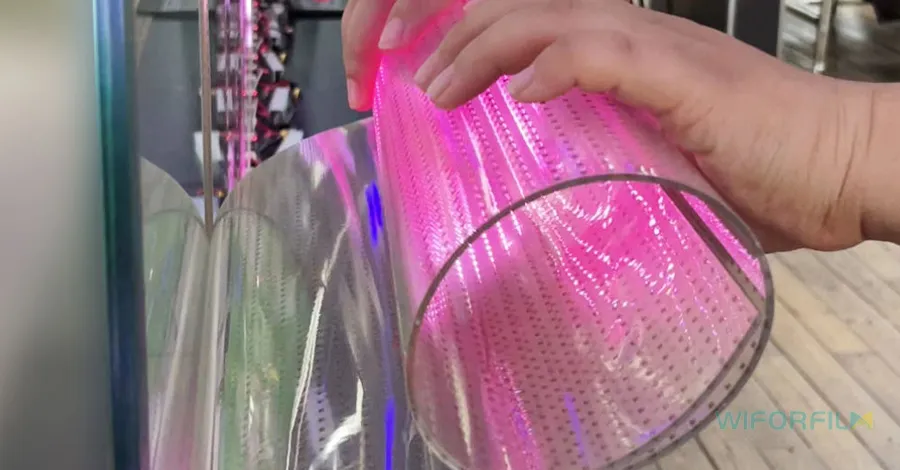
Installing an LED film screen on glass is easier than it looks — and you don’t need complex tools or construction work to get started. This type of display can instantly transform your glass window or wall into a stunning digital screen, perfect for retail stores, offices, exhibitions, and architectural displays.
Here’s a simple step-by-step guide to help you complete the installation safely and efficiently.
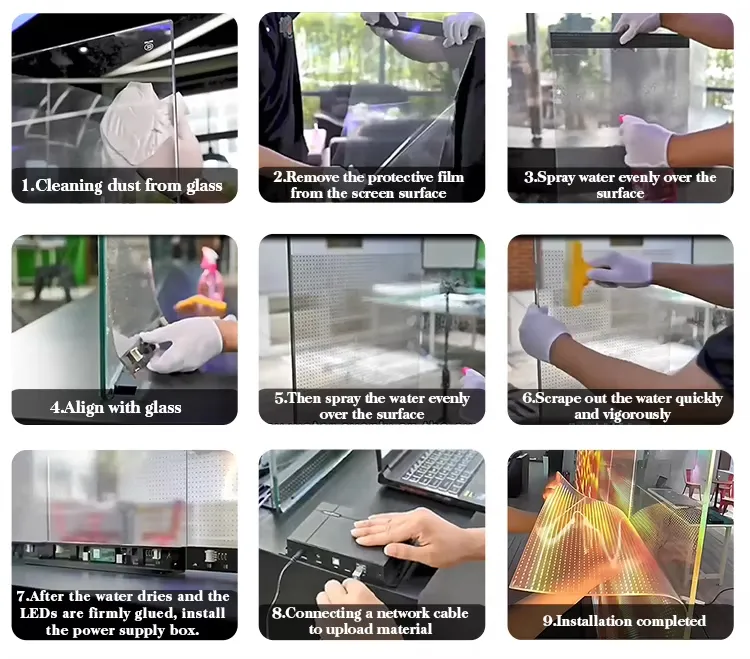
Step 1: Clean Dust from the Glass
Start by thoroughly cleaning the glass surface where you plan to install the LED film. Use a clean cloth and glass cleaner to remove all dust, grease, or fingerprints. A spotless surface ensures the adhesive film bonds evenly and firmly.
Step 2: Remove the Protective Film from the Screen Surface
Carefully peel off the protective layer from the LED film screen. This exposes the adhesive side that will attach to the glass. Handle the film gently and avoid touching the adhesive surface to maintain its stickiness.
Step 3: Spray Water Evenly Over the Screen Surface
Before placing the screen, spray a fine mist of water evenly across the adhesive surface. The moisture helps you reposition the film during alignment and prevents air bubbles during installation.
Step 4: Align the Screen with the Glass
Align the LED film precisely with the glass panel. Position it from top to bottom or from one side to another to ensure perfect alignment and coverage. Double-check that the edges are straight and there are no visible gaps.
Step 5: Spray Water Evenly Over the Surface Again
Once aligned, spray another light layer of water over the front surface of the screen. This step helps in smoothing and pressing out trapped air pockets during the next step.
Step 6: Scrape Out the Water Quickly and Vigorously
Using a squeegee or scraper, firmly push out the water and air bubbles between the screen and the glass. Work from the center toward the edges in a smooth, consistent motion. This step ensures strong adhesion and a bubble-free finish.
Step 7: Allow the Film to Dry and Install the Power Supply Box
After scraping, let the screen dry completely. As the water evaporates, the LED film will adhere more tightly to the glass. Once fully dry, attach the power supply box securely at the base or side of the screen, depending on your installation setup.
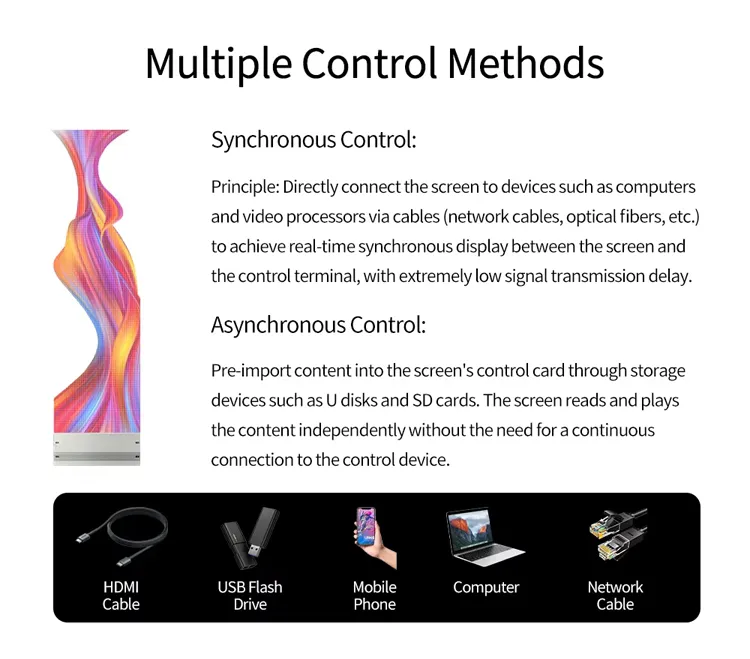
Step 8: Connect the Network Cable to Upload Content
Next, connect the control box or network cable to your computer or media player. This allows you to upload visual content — videos, animations, logos, or advertisements — directly to the LED film screen.
Step 9: Installation Completed
Once the connection is successful, power on the system. Your LED transparent film screen is now fully operational, displaying bright and vivid visuals directly through the glass. Enjoy the seamless combination of transparency and digital performance!
Associated Products
You may also be interested in the following products:
Self-Adhesive Transparent LED Display Film - P5
Transparent LED Film Display Screen - P6.25
Flexible LED Transparent Film Screen - P8
Ultra Transparent Film LED Screen
Transparent Flexible Film Screen - P15
LED Crystal Film Screen
Transparent LED Screen Film - P4